Formulas are comprised of:
- triggers that kick off formulas,
- steps that the trigger executes, and
- variables used to define inputs to the formula instance
The triggers, steps, and variables build up context that you can refer to as you build a connector. For example, a JS Script step might build a JSON payload that you can refer to in a later step as ${steps.stepName}. Within a connector's context, you can refer to steps as as ${steps.stepName}, variables as ${config.variableName}, triggers as ${trigger.triggerComponent} (such as ${trigger.args} or ${trigger.event}), and formula metadata as ${info.metadataName}. Make sure that the dollar sign is outside of the curly brackets (${steps.stepname} not $steps.stepName) and that you don't take any shortcuts like ${stepName}.
This article provides configuration information triggers which can be one of the following types:
Event 
You can set up triggers that listen for an event to happen on a connector instance. To set up this trigger, you must use a Connector Instance Variable that, when specified in a connector instance, refers to a formula instance that is configured to use webhooks or polling to listen for events.
Event Trigger Setup
To set up an Event trigger, you must specify a Connector Instance Variable.
Set up a trigger in the UI
After you click to add an Event trigger, click  on the Edit event: "trigger" pane.
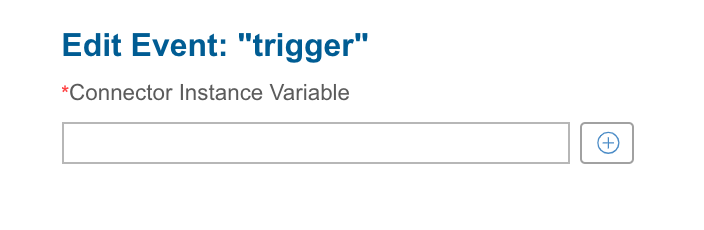
Find or create a variable to represent the connector instance that will kick off a connector instance when an event occurs.
Set up a trigger with JSON
- Specify the
typeasevent. - For
elementInstanceIdinclude the Connector Instance Variable (in the format${config.variableName})that triggers the formula.
{
  "triggers": [
    {
      "type": "event",
      "properties": {
      "elementInstanceId": "${config.crmElement}"
    },
  "onSuccess": ["step1"]
    }
  ]
}
If an Event trigger's Connector Instance is set up for polling instead of webhooks, then each object that is found while polling triggers a separate formula execution. For example, if the poller finds five changes, five different formula executions kick off.
Event Trigger Formula Examples
To see event triggers in action, see the following examples:
Event Trigger Scope
Event triggers add step execution values like those described in the example JSON below to the formula context. The formula context is then passed from step-to-step, allowing you to use these values in any subsequent steps in your formula.
{
  "eventId": 11211123,
  "instanceId": 231232132,
  "type": "event",
  "event": {
    "date": "2016-06-01T04:09:10Z",
    "elementKey": "sfdc",
    "eventType": "UPDATED",
    "objectId": "n005i000003sgTd0AAE",
    "objectType": "Contact"
  }
}
Example references to Event trigger scope:
${trigger.event.objectType}${trigger.event.eventType}
Connector Request 
Triggered any time a specific API call is made to a given Connector Instance. To set up this trigger, you must use a Connector Instance Variable that, when specified in a connector instance, refers to a formula instance.
Set up a trigger in the UI
After you click to add a connector Request trigger, click on the Edit formula Request: "trigger" pane. 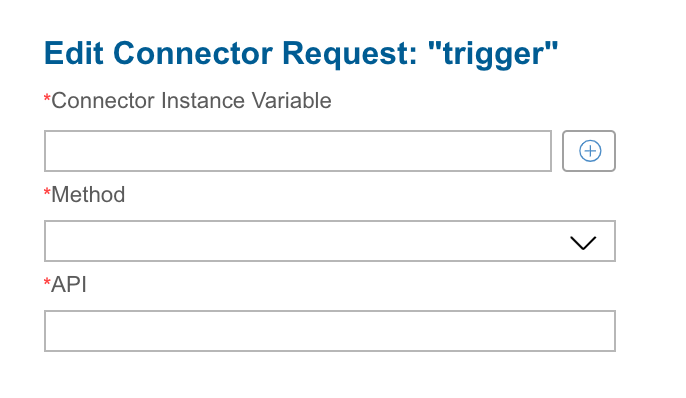
- Find or create a variable to represent the connector instance that will kick off a connector instance when an event occurs.
- In Method enter the API method of the API call, such as GET, POST, PUT, PATCH, or DELETE.
- In API enter the endpoint, such as
hubs/crm/contacts.
Set up a trigger with JSON
- Specify the
typeaselementRequest. - In
properties:- For
elementInstanceId, include the Connector Instance Variable (in the format${config.variableName}) that triggers the formula. - For
method, specify a valid API verb. The API method of the API call, such as GET, POST, PUT, PATCH, or DELETE. - For
apienter the endpoint, such ashubs/crm/contacts
- For
{
   "triggers":[
      {
         "type":"elementRequest",
         "properties":{
            "method":"POST",
            "elementInstanceId":"${config.crmInstance}",
            "api":"/contacts"
         },
         "onSuccess":[
            "step1"
         ]
      }
   ]
}
Scheduled 
Triggered at times specified by a CRON job. We recommend that you review the many reference pages for CRON jobs online, such as Crontab Guru.
In general, the CRON format consists of:
| Minute 0-59 | Hour 0-23 | Day of Month 1-31 | Month of Year 1-12 | Day of Week 1-7 Monday-Sunday | Year 1900-3000 |
|---|---|---|---|---|---|
| * | * | * | * | * | * |
Example Cron Strings
Run every 15 minutes
0 0/15 * 1/1 * ? *Run every Monday at noon
0 0 12 ? * MON *8.00 PM every weekday (Mon-Fri):
0 0 8 ? * MON,TUE,WED,THU,FRI *Midnight on 1st, 10th & 15th of month
0 0 0 1,10,15 1/1 ? *
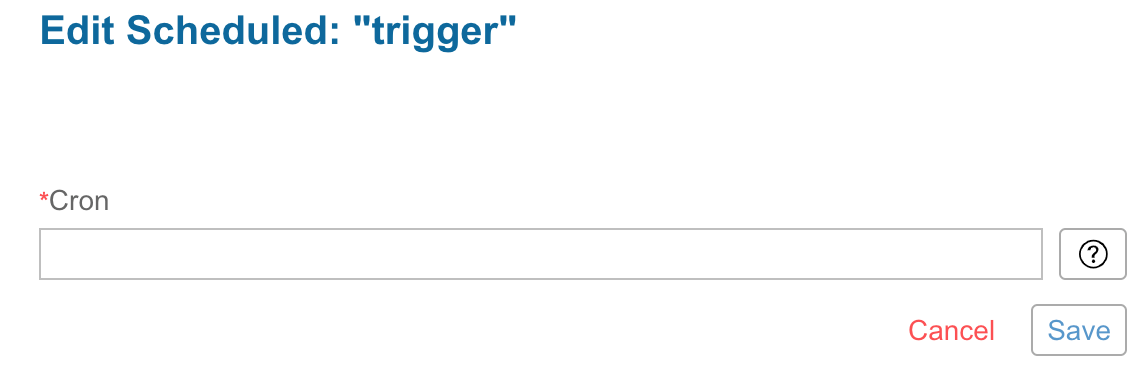
Set up a trigger in the UI
After you click to add a Scheduled trigger, enter the CRON values that represent the time the event should execute.
Open your formula's trigger from within the formula template and select Add Trigger.
Select Add Schedule Trigger.
- From Create scheduled trigger settings, select a desired interval and click Save.
Note: By default, theAllow concurrent formula executionsoption is unchecked to avoid any concurrent conflicts. To avoid issues with incomplete jobs, leave the option unchecked; this will allow scheduled jobs to initiate only after the previous job is completed without being duplicated, regardless of the scheduled intervals.
Set up a trigger with JSON
- Specify the
typeasscheduled. - For
properties.cronenter a CRON string.
{
    "triggers": [{
        "type": "scheduled",
        "properties": {
            "cron": "0 0 12 ? * MON *"
        },
        "onSuccess": ["step1"]
    }]
}
Scheduled Formula Examples
To see a Scheduled trigger in action, see Bulk Transfer CRM Data.
Manual 
Triggered via a manual API call to POST /formulas/instances/:id/executions. Manual triggers do not require any specific configuration. You can use formulas triggered manually as synchronous API calls. See Formula as a Resource for setup instructions.
Additionally, you can cancel a trigger via PATCH /formulas/instances/executions/{executionId}, or by selecting the execution on the Executions tab and clicking Stop Execution; see our Formulas Platform API Reference for more information.
To set up a Manual trigger in JSON specify the type as manual.
{
   "triggers":[
      {
         "type":"manual",
         "properties":{

         },
         "onSuccess":[
            "step1"
         ]
      }
   ]
}
To see a Manual trigger in action, see Bulk CRM Transfer Data.
