Before you can authenticate an instance of the Cisco Webex Teams connector, you must create a Cisco Webex connected app. Follow the below instructions to create a connected app.
NOTE: these are the minimum number of steps to create a connected app needed to create an instance; your particular use case may require additional parameters specific to your individual use case. Refer to the Cisco Webex Developer Documentation for more detailed information regarding their API.
Creating a Cisco Webex Connected App
- In a web browser, navigate to the Cisco Developer site at https://developer.webex.com and sign in to your account.
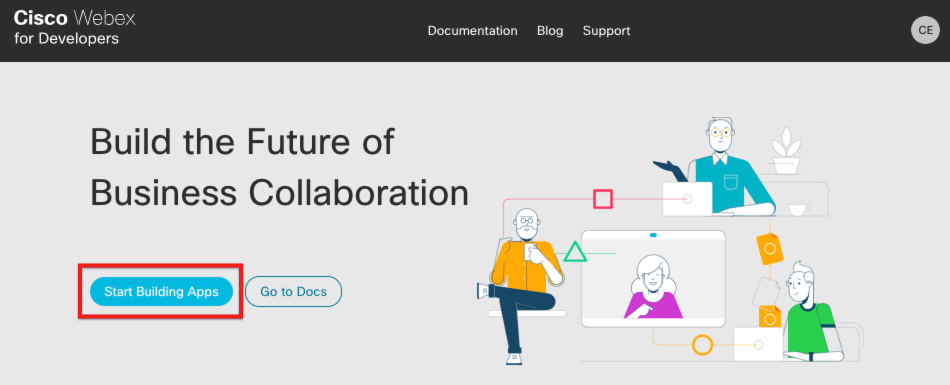
- Click Start Building Apps.

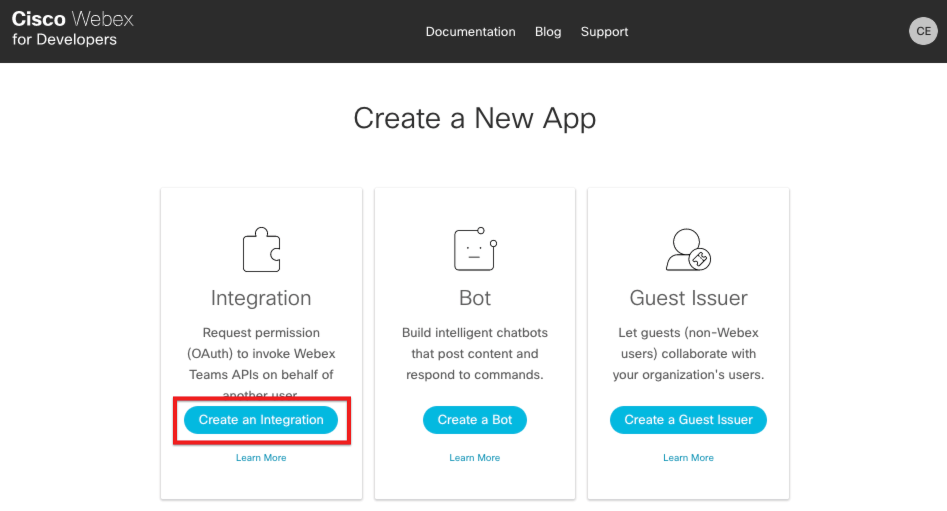
- On the My Apps page, click Create a New App.

- On the Create a New App page, click Create an Integration.

- On the New Integration page, complete these steps:
- Provide the integration name, contact email, and other required fields.
- In the Redirect URI(s) field, add
https://auth.cloudelements.io/oauth - In the Scopes section, select the relevant scopes necessary to your particular use case. See Cisco's documentation for Accounts and Authentication to learn more.
- After completing the form, click Add Integration at the bottom of the page.
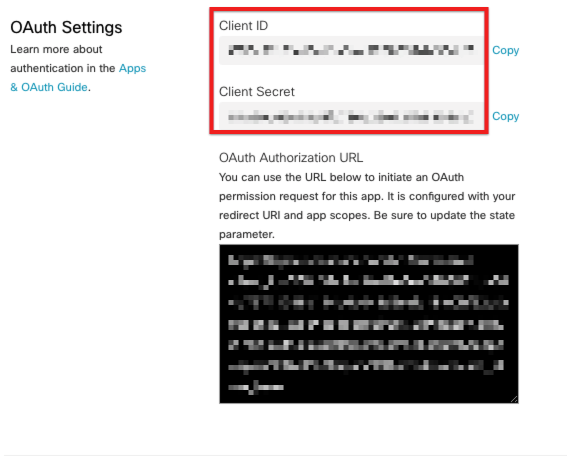
- After creating your integration, the Congratulations page appears. In the OAuth Settings section, record your Client ID and Client Secret, which you will use to authenticate a connector.


