On this page
To authenticate a Gmail connector instance you must create a project with a web application in the Google API console. After you create the project and app, Google provides a Client ID and Client secret which you will use to authenticate. You'll also need the Authorized redirect URI that you configure while creating the app.
When you set up your app, you must also enable the Gmail API.
If you've already set up an app and just need to know how to find your Client ID and Client secret, see Locate Credentials for Authentication. If you need to create a project and register an app, see Create an Application.
See the latest setup instructions in the Google API documentation.
Locate Credentials for Authentication
If you already created a project and application, follow the steps below to locate the Client ID, Client secret, and Authorized redirect URI. If you have not created an app, see Create an Application.
To find your OAuth 2.0 credentials:
- Log in to your account at Google.
Click Select a project, choose your project from the list, and then click Open.

Google displays your apps and associated Client ID.
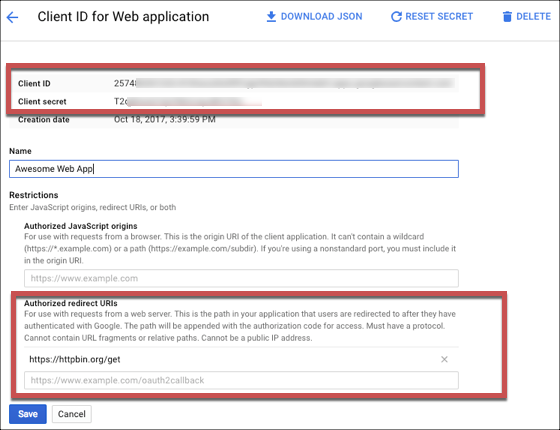
Click the pencil icon to see the Client ID, Client secret, and Authorized redirect URI.
Record the Client ID and Client secret.
Record the Authorized redirect URI for your app.
Create an Application
If you have not already created a project and application, you need one to authenticate with Google. Creating an application is a multi-step process:
Create a Project
To create a project:
- Log in to your account at Google.
- Click Select a project, and then click New Project.

- Accept the terms of service, and then complete the required information.
- Click Create.
Enable APIs
To make all of the requests available in the Gmail connector, you must enable the GMail API.
To enable APIs:
- Select the project that you just created
- Click Enable APIs and Services.

- Search for and enable the Gmail API.
Create a Web Application
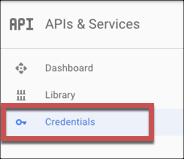
- Click Credentials on the left menu.
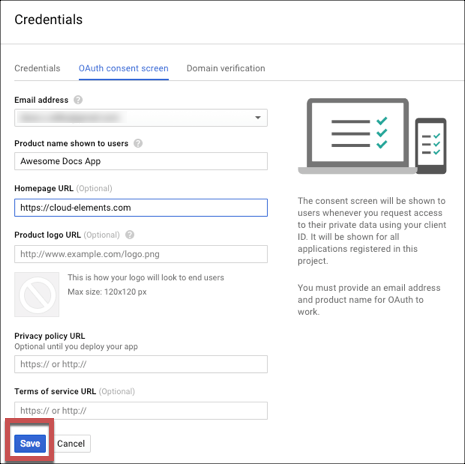
- Click the OAuth consent screen tab.
- Enter a Product Name and add any optional information, and then click Save.
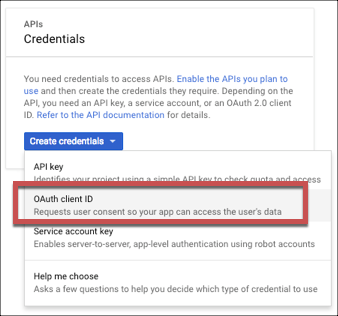
- Click Create Credentials, and then select OAuth Client ID.
- Select Web application as the Application type.
- Enter a Name and the Authorized redirect URI for your app. Record this as the OAuth Callback URL that you will need to authenticate.
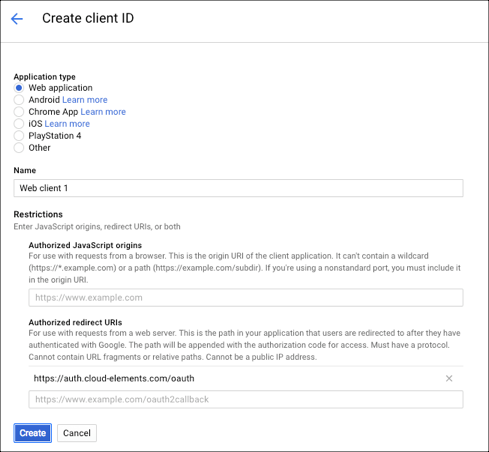
- Click Create.
- Record the Client ID and Client secret to use when you authenticate.


