Navision Server Instance Setup
To expose your web services, you need to set up an instance on the Microsoft server.
- Launch Dynamics NAV Administration.
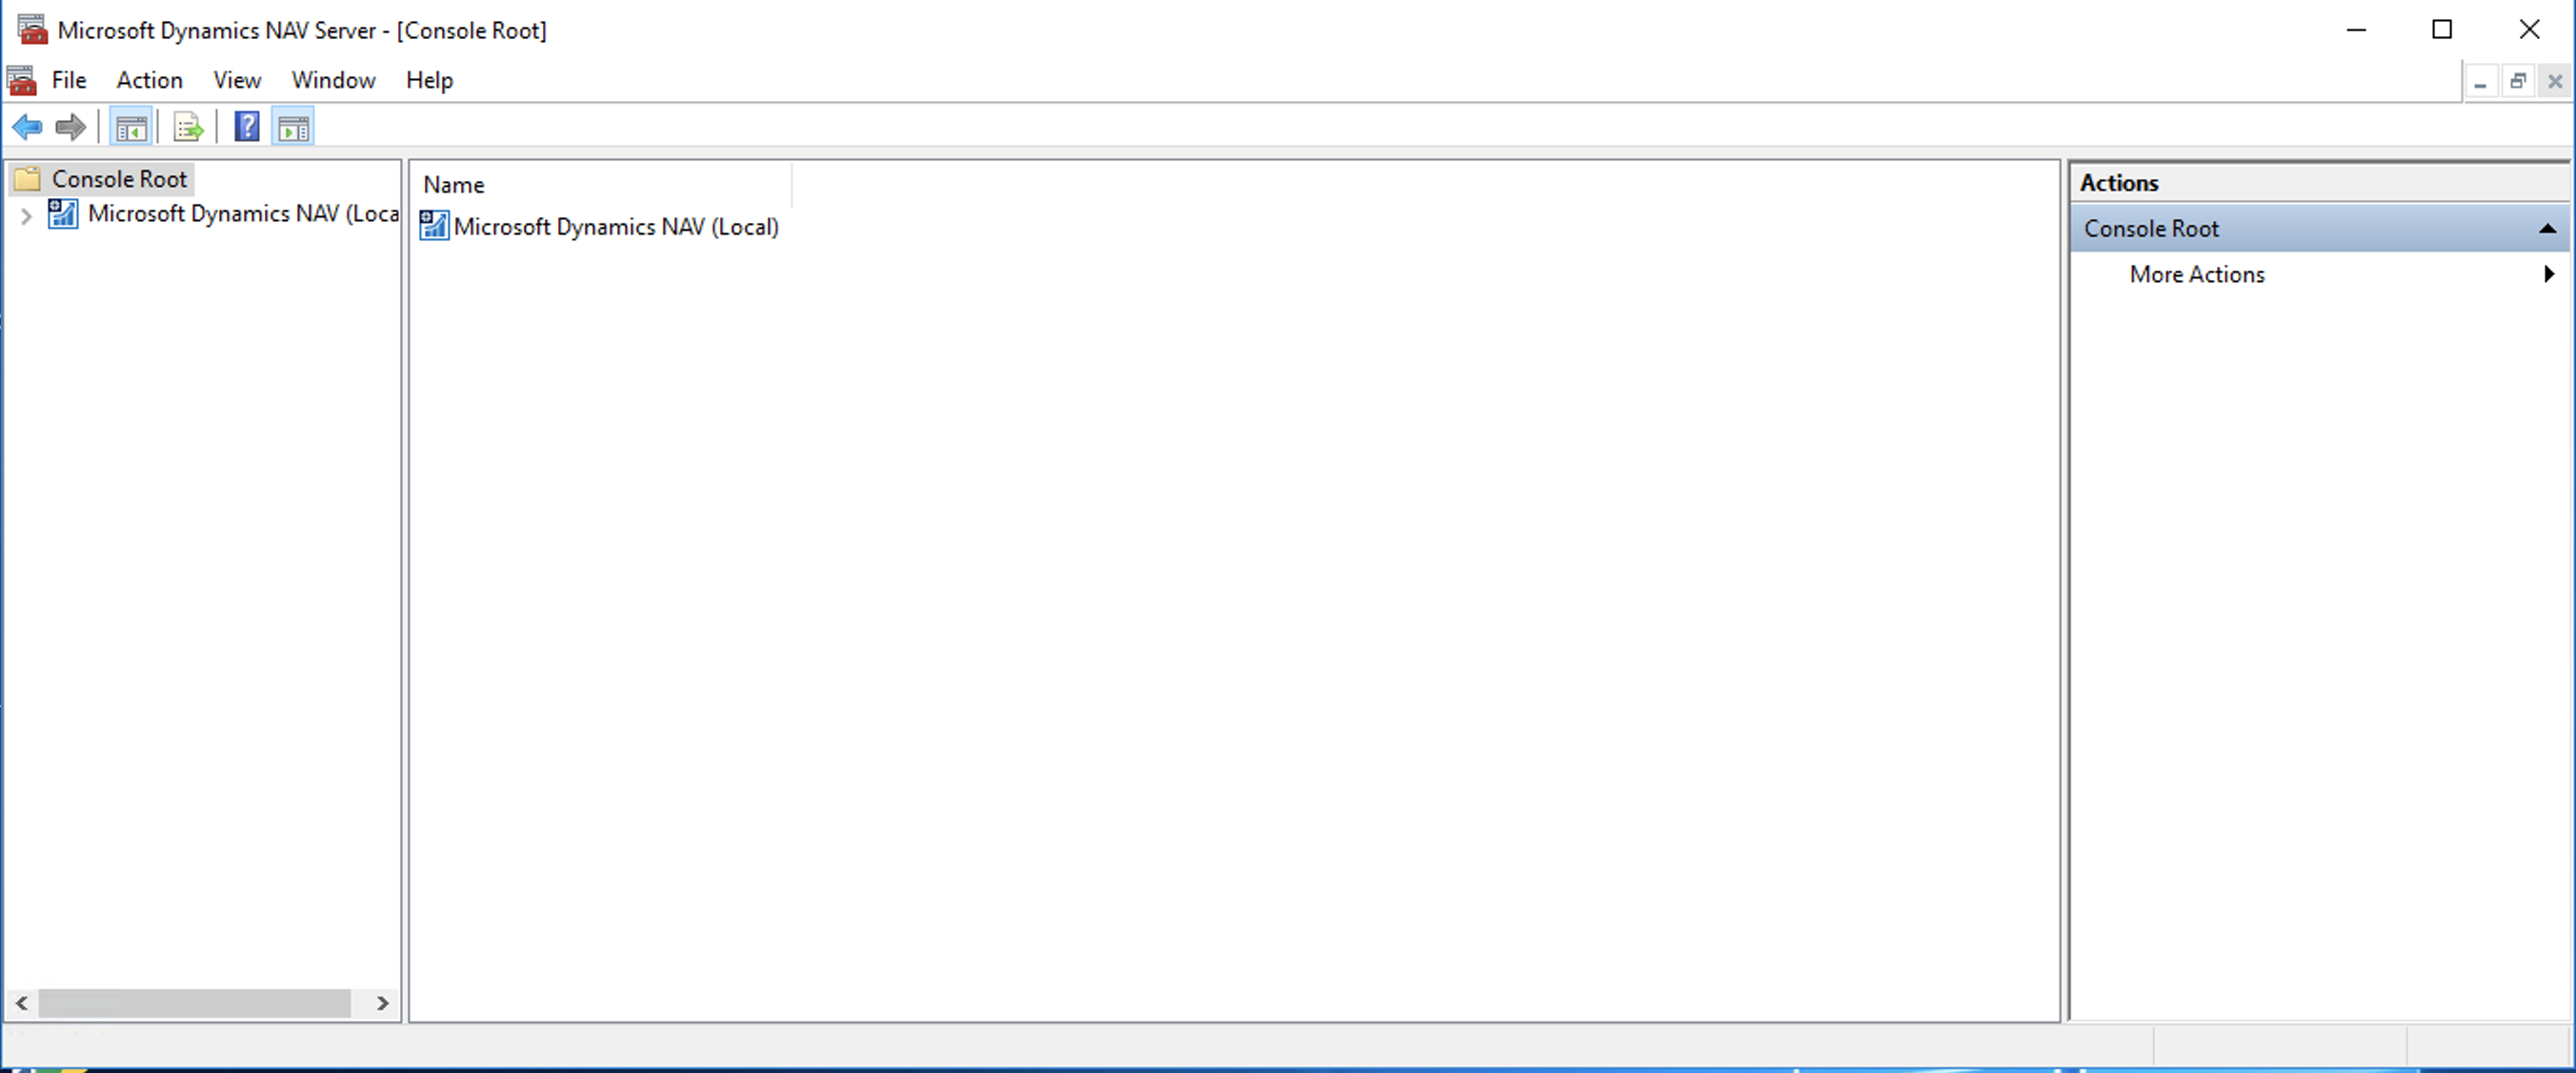
You will see the server name that you entered when you set Navision up on your system.
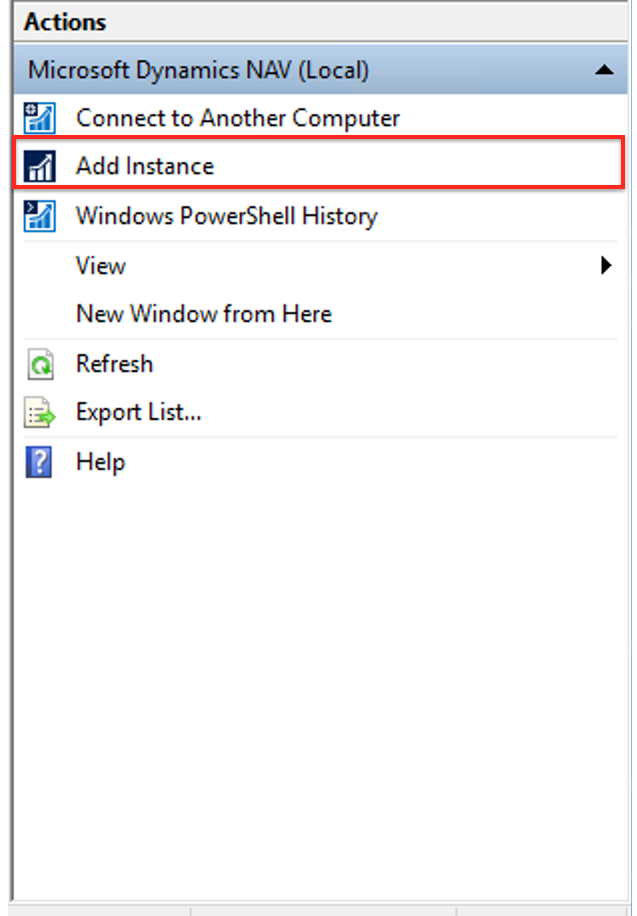
Note: Only Navision versions 2013, 2015, 2016, 2017, and 2018 are supported by the connector. Click on the server name. More options are available on the panel to your right. Click Add Instance from the dialog box that appears as shown below.
- On the console that appears, expand all options one by one and configure the ports according to your needs. Make sure you Enable Client Services and OData Services. (In our example, the server name is DynamicsNAV100.)
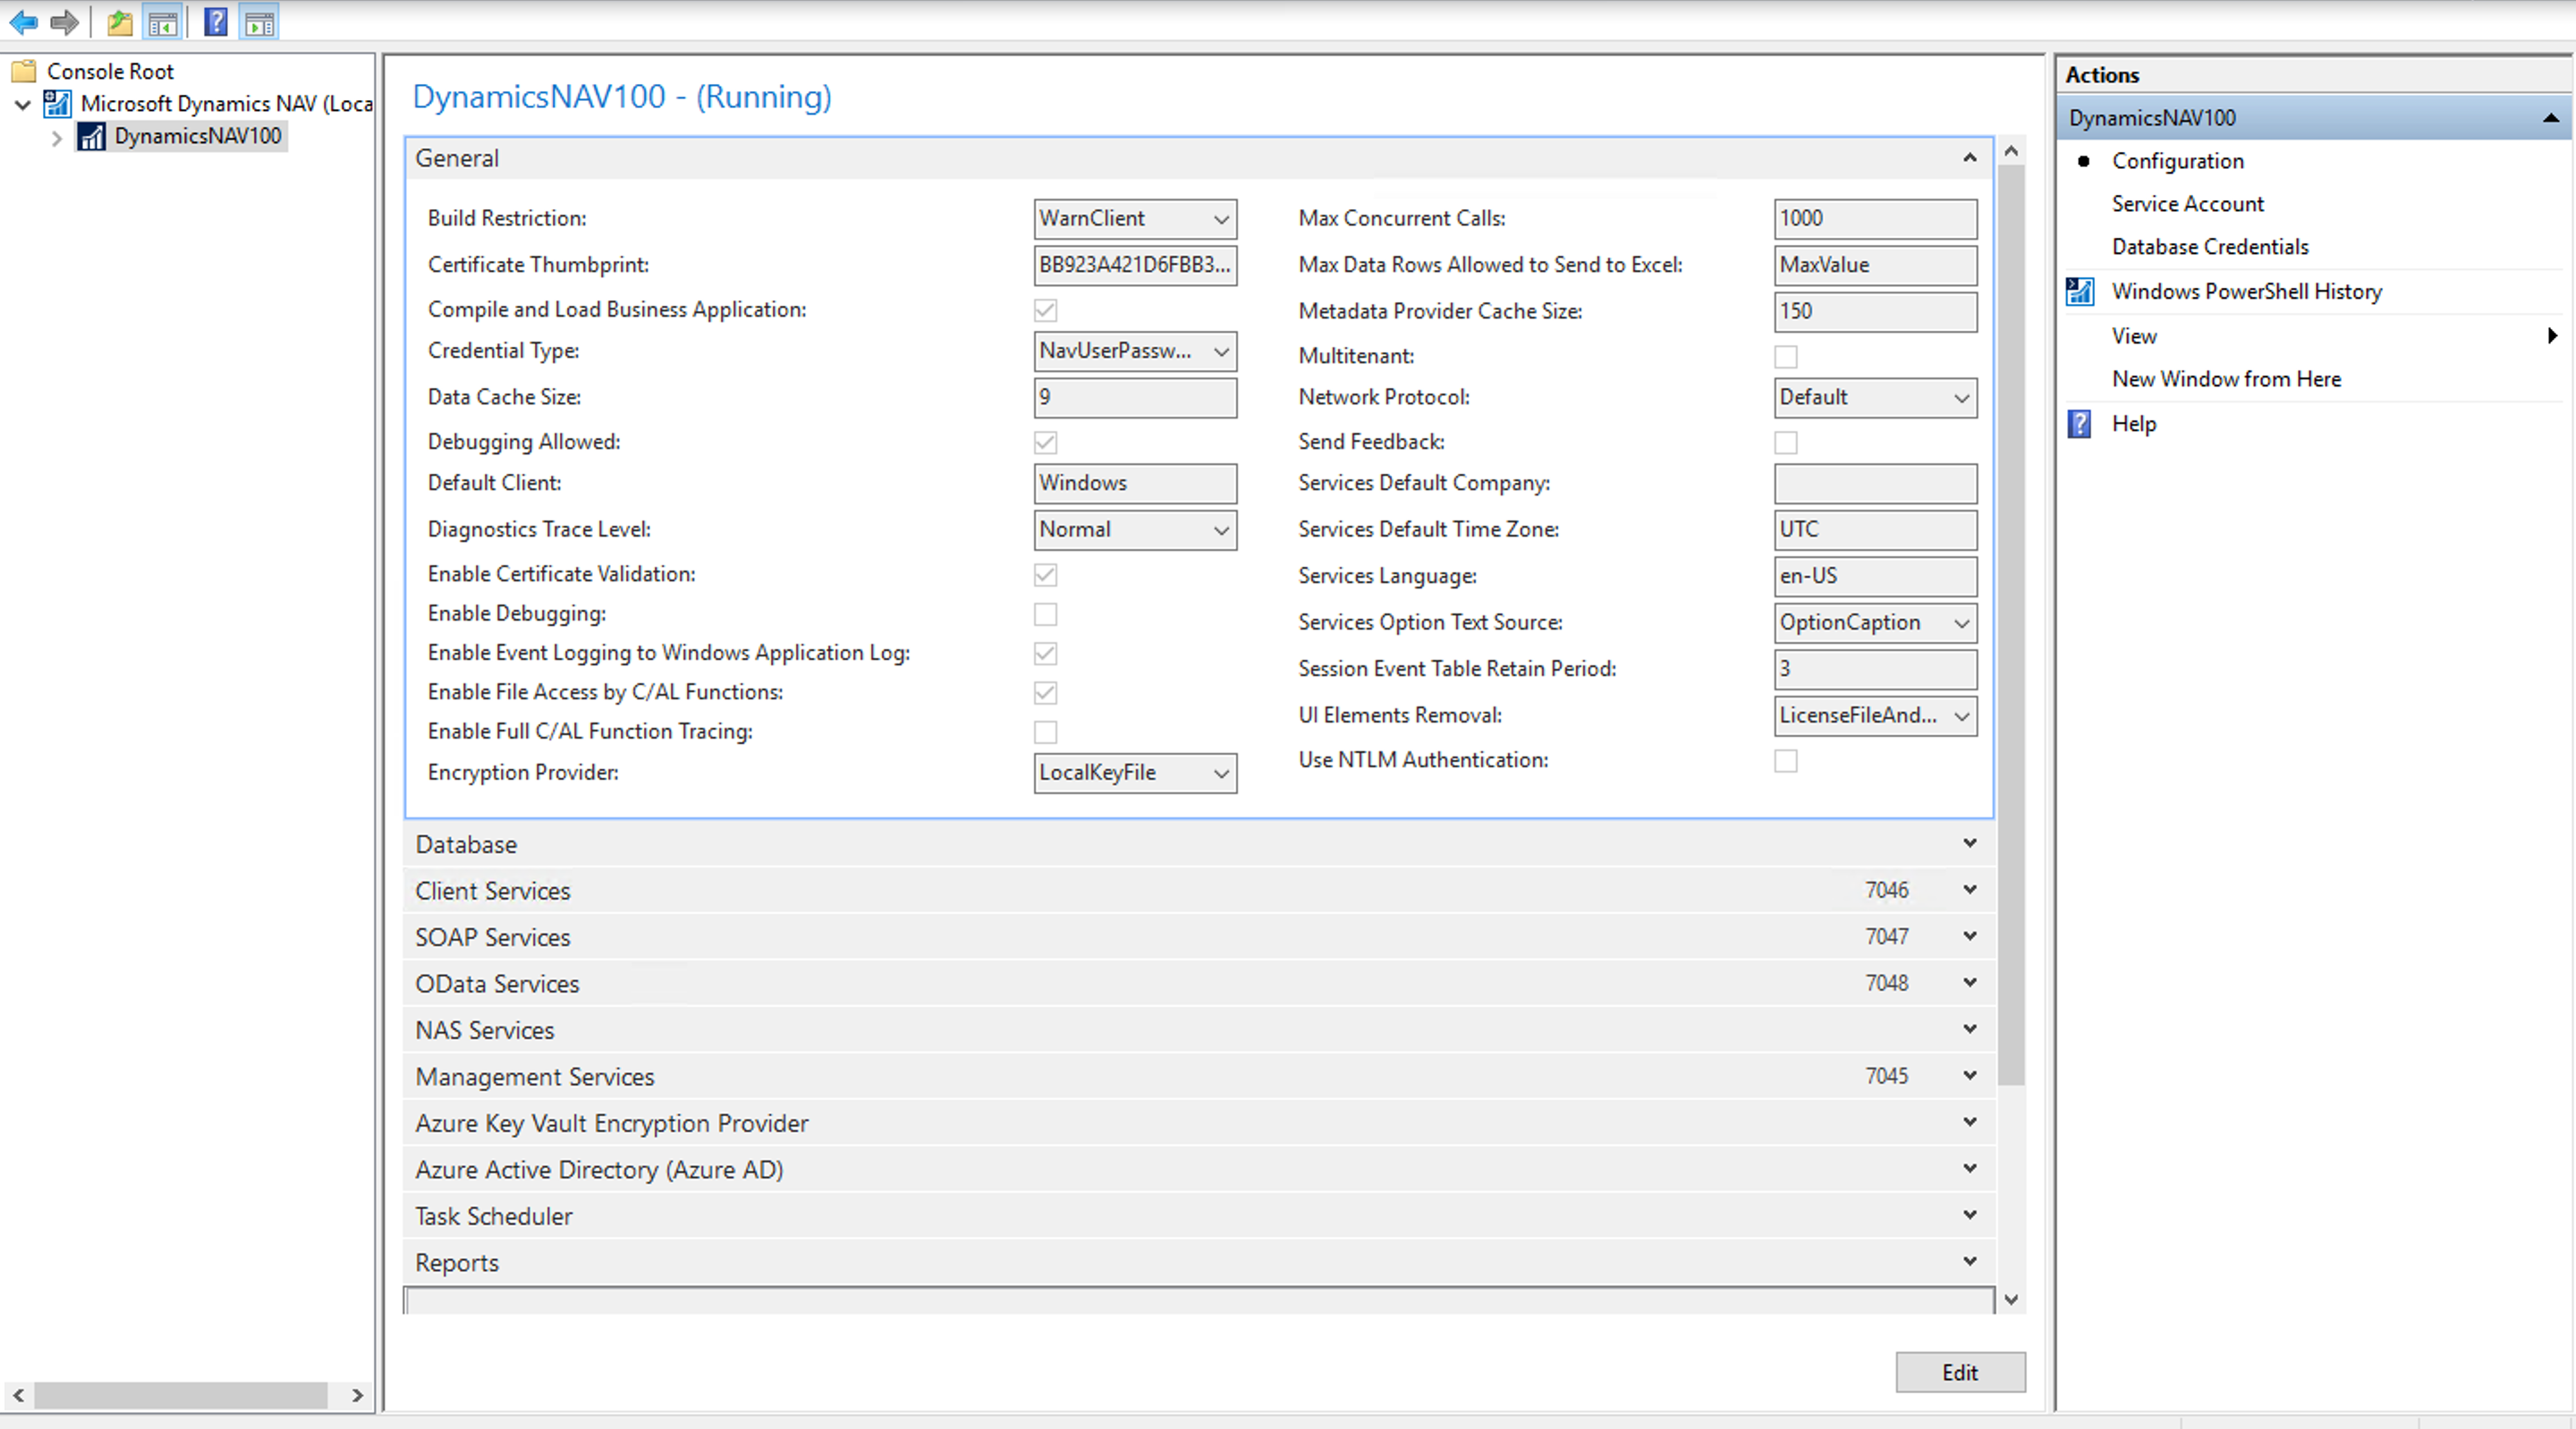


You have now successfully created an instance on the local server.
Navision Connector Configuration
Note: Only Navision 2013, 2015, 2016, 2017, 2018 versions are supported by the element.
To configure web services on Dynamics Navision:
- On the Navigation panel to the left, there is a list of all the ERP functionalities offered by Dynamics Navision, as shown below.
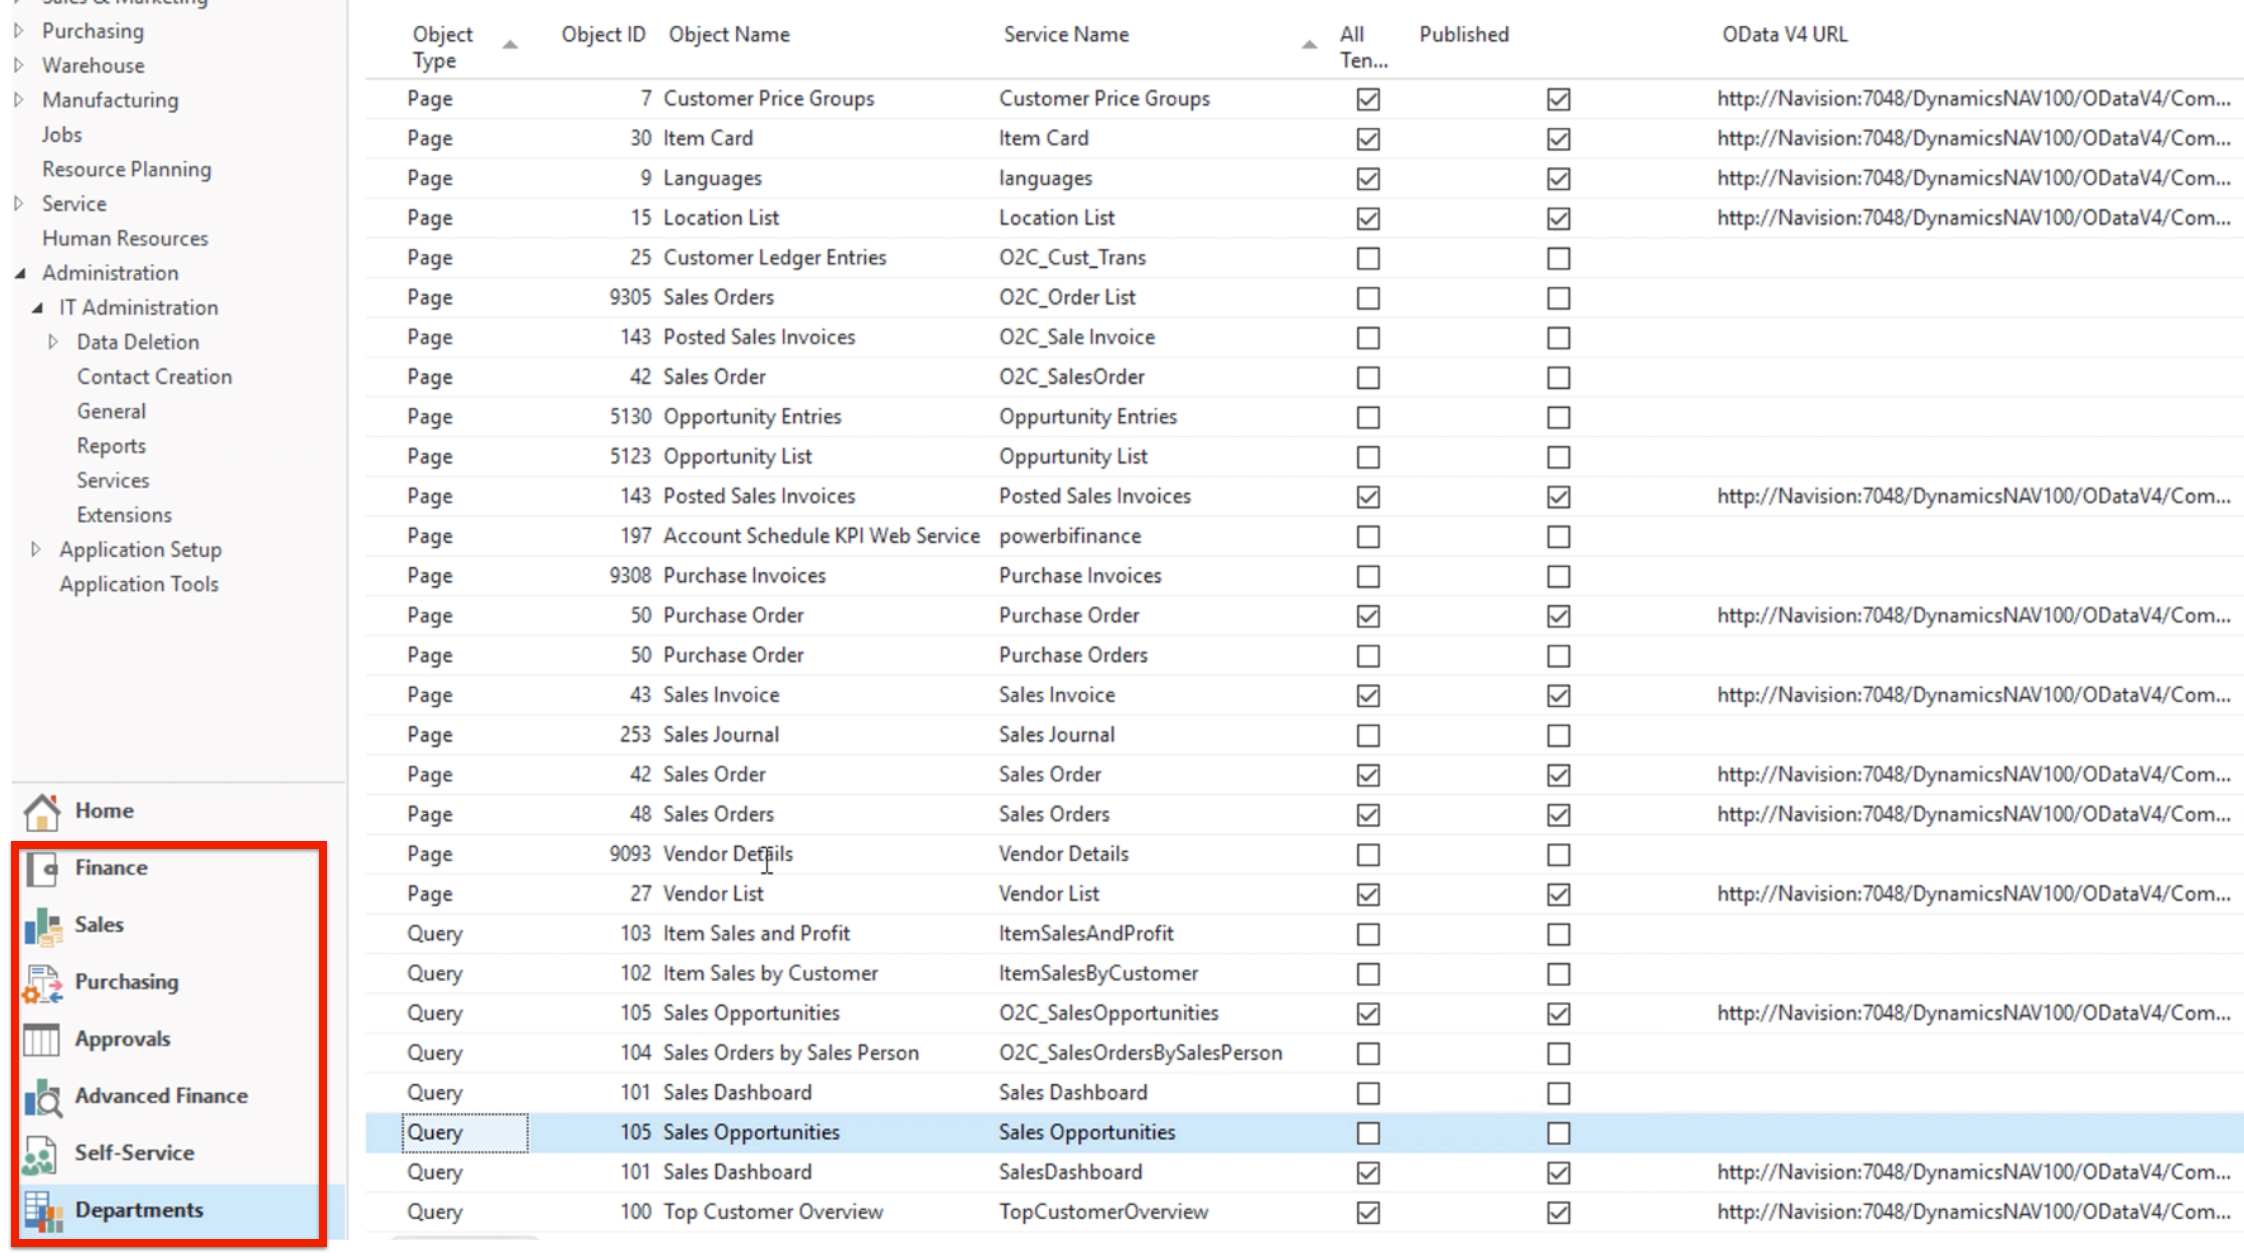 Click on the Departments functionality.
 - Navigate from Departments to Administration > IT Administration > Services > Web Services.
- On this page, you can see a list of the thousands of web APIs Dynamics Navision exposes for their clients to use.
- The table consists of various columns, of which the Object Type, Object ID, Object Name, Service Name, Published and OData V4 URL columns are the most important ones.
- Object Type can be Query, Page, or Codeunit, but is set to Page by default.
- Object ID is the ID unique to all the web services that are listed.
- Object Name is the name by which Navision recognizes the service as an entity.
- Service Name is the name by which the administrator wants to expose the web service.
- Published column contains check boxes that allows user to expose the web services.
- OData V4 URL is the vendor URL for the particular web service with its service name included at the end of the URL.
- After providing the service name with which you would like to expose the web services, check the box in the Published column and your web services are now available for access.
 Click on the Departments functionality.