Before you can authenticate an instance of the Google Analytics connector, you must first complete these tasks:
- Create and register an Analytics project
- Generate OAuth credentials
- (Optional; only required if authenticating via API) Record the project's account ID
Creating and Registering an Analytics Project
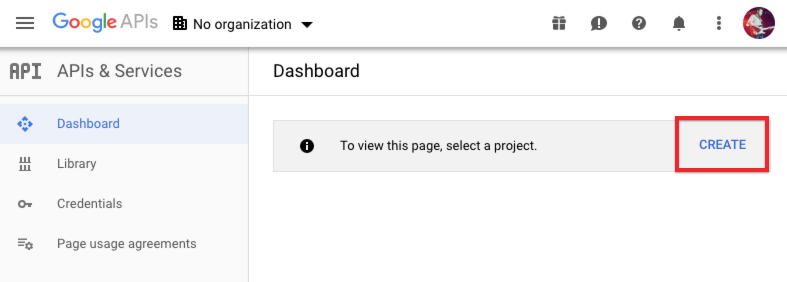
- In a web browser, navigate to the Google APIs Console and sign in to your account.
- From the Google APIs Dashboard, click Create.
- On the New Project page, enter a name for your project and select a parent organization or folder (or select
No Organization) from the Location menu. Record the project name that you enter, as you will use it as the Account Name value during authentication. When you are finished, click Create.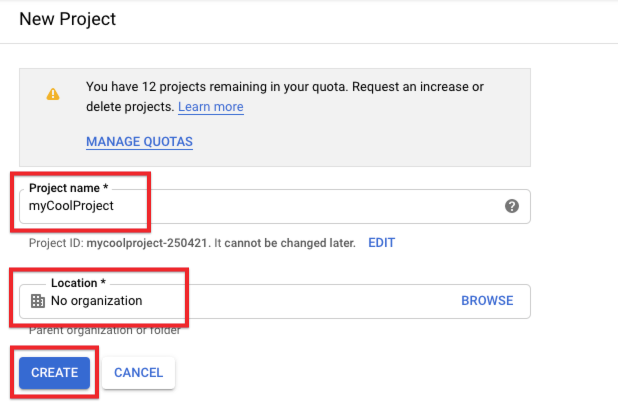 After your project is created, the APIs & Services page appears.
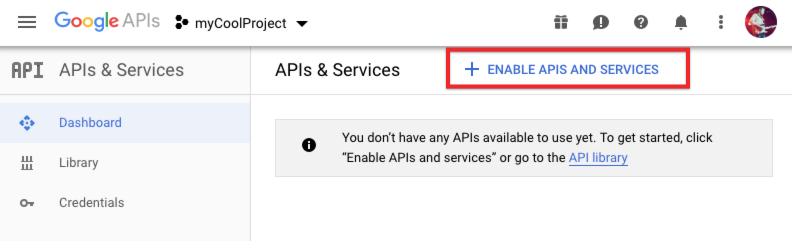
 - Click Enable APIs and Services.
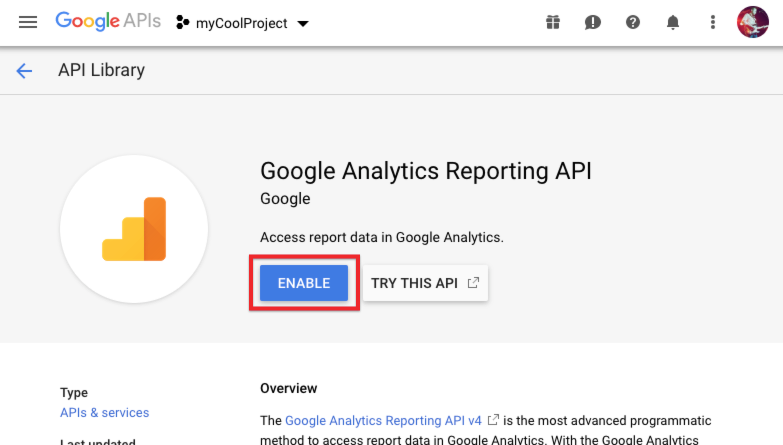
- On the API Library page, navigate to and select the Google Analytics Reporting API.
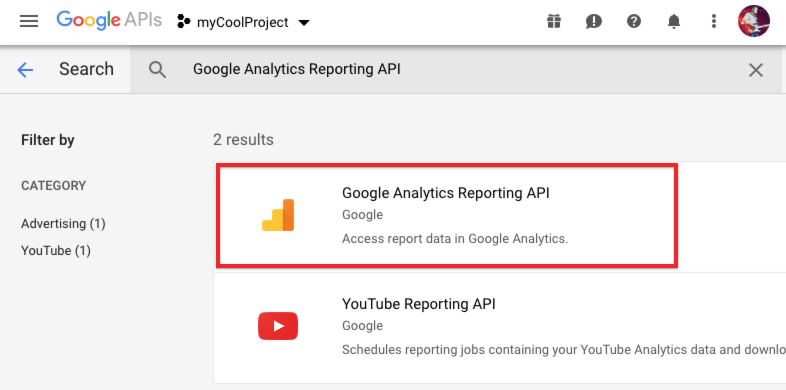
- On the Google Analytics Reporting API page, click Enable.
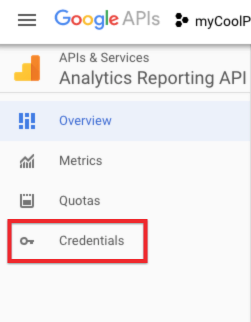
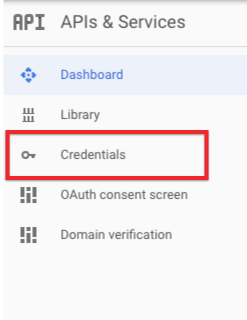
- On the left-side navigation bar, click Credentials.
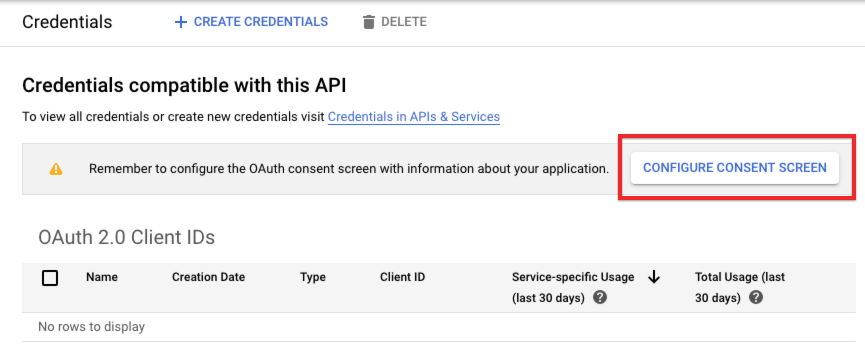
- On the Credentials page, click Configure Consent Screen.
- Enter a name for your application, and optionally add an application logo.
- Under Scopes for Google APIs, click Add Scope and then click the option to manually paste your scopes. Enter the following scopes into the field, and then click Add:
- https://www.googleapis.com/auth/analytics.manage.users.readonly
- https://www.googleapis.com/auth/analytics.manage.users
- https://www.googleapis.com/auth/analytics.edit
- https://www.googleapis.com/auth/analytics.readonly
The Scopes for Google APIs section should look like this:
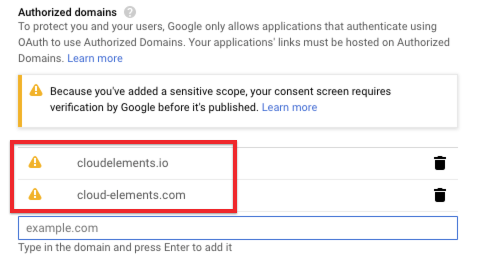
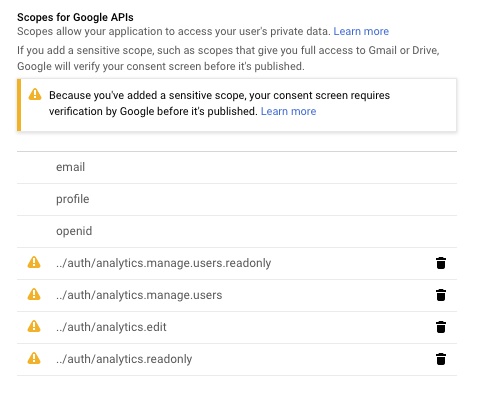 Note: As explained in the above screenshot, your application will need to be verified by Google before it will be published. For more information about the application verification process, see Google's documentation.
- In the Authorized Domains field, add cloudelements.io and cloud-elements.com as approved domains.
- Click Save, and then click Credentials from the left-side navigation bar.

 After your project is created, the APIs & Services page appears.


 Note: As explained in the above screenshot, your application will need to be verified by Google before it will be published. For more information about the application verification process, see

Generating OAuth Credentials
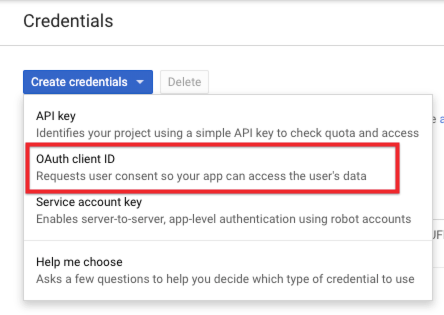
- On the Credentials page, click Create Credentials, and then click OAuth client ID.
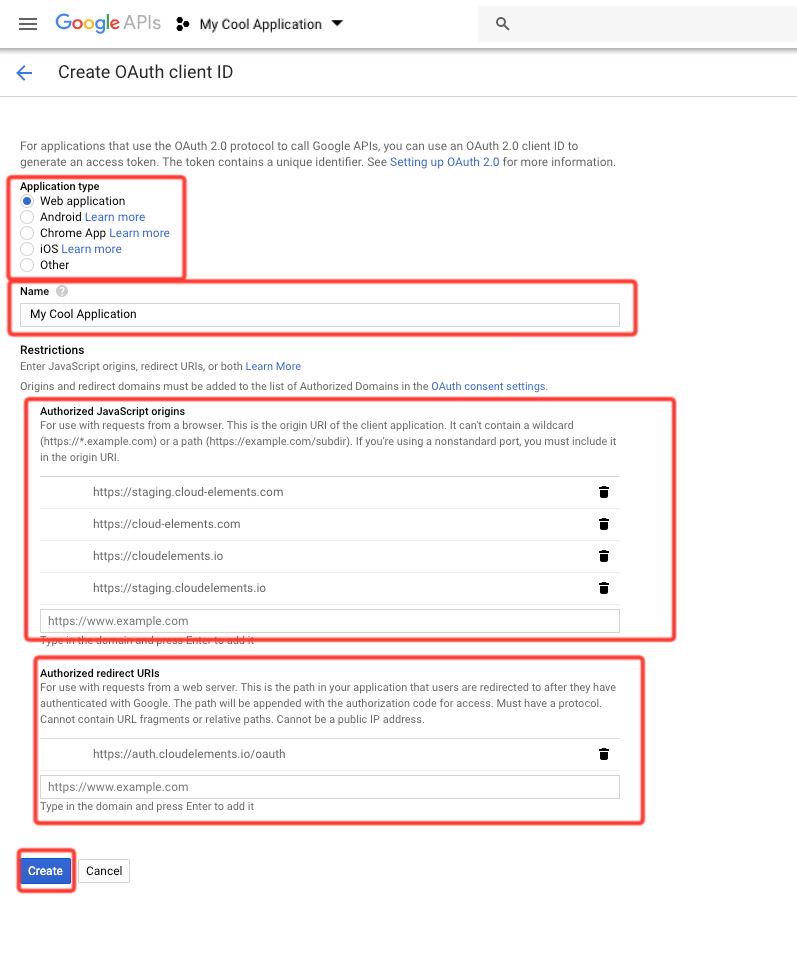
- On the Create OAuth client ID page, click Web application, and enter a name for your application.
- In the Authorized JavaScript Origins field, add the following domains:
- In the Authorized Redirect URIs field, add
https://auth.cloudelements.io/oauth.Your Create OAuth Client ID page should look like this:
- Click Create.
- On the OAuth client window, record your client ID and secret, both of which you will use during authentication.


Recording the Project's Account ID
- Navigate to https://analytics.google.com/ and sign in to your account.
- On the Analytics Home page, click your account from the top navigation bar.
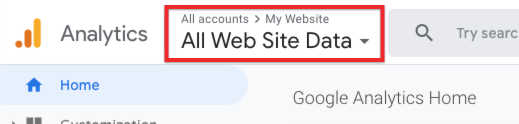 The Accounts window appears.
 - Under the Analytics column, identify the account for the project you're authenticating with, and record the numeric ID beneath the account name.
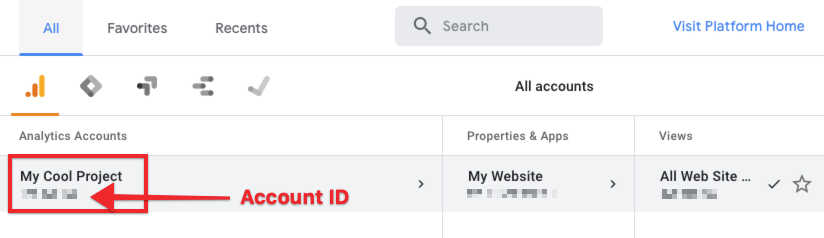 Note: in the above screenshot, the account ID and other fields are pixelated for security; the displayed value will be a numeric string.
 The Accounts window appears.
 Note: in the above screenshot, the account ID and other fields are pixelated for security; the displayed value will be a numeric string.
Required Information
After completing these instructions, you should now have the following information on hand for authentication:
- Account name
- API key
- API secret
- (optional) Account ID, if authenticating via API and not the SAP Open Connectors UI
